5 Pro-Tips for Recording Vocals in Your Home Studio
Whatever type of music you are recording in your home studio, sooner or later you are going to want to record some vocals. You might be doing the vocals yourself, or you could be recording with a vocalist.
Maybe you’re a songwriter who has asked a vocalist to sing on your demo track, or you’re working with a vocalist to help them produce their own track. The vocalist could even be you if you are doing it yourself.
People listening to a track that includes vocals will normally focus on the vocal performance. This means that any shortcomings in your recording will be more noticeable in the vocals than anywhere else in the track.
There are some things you need to think about to capture a great performance in your vocal recording. So, here are 5 pro-tips for getting great results when recording vocals in your home studio:
- Have an appropriate work space for the vocalist
- Be sensitive and supportive of the vocalist
- Use the right microphone setup
- Get the headphone mix right
- Be prepared and pay attention
Now, let’s look at each of these tips in more detail to see how they can be used to help you capture a great vocal recording.
1. Have an Appropriate Work Space for the Vocalist
When you are recording instrumentals, or even vocals, on your own then you might be able to get away with a messy studio environment.
This untidiness could involve keyboards, guitars and other instruments, wires, pedals, amplifiers, speakers, racks and whatever other equipment you haven’t put away properly.
Depending on how you like to work, this could keep everything close at hand and let you work efficiently, or it might make things more difficult. Either way, it’s your studio and your choice.
When someone is coming in to work with you in your studio this untidiness can make things more difficult. People coming in to play an instrument might be able to work around it – they may be used to instruments and amplifiers lying around in whatever room they normally practice in.
Vocalists, on the other hand, may not be used to performing when surrounded by equipment and this might make them feel uncomfortable from the outset.
Having a clear space available in your studio where the vocalist can feel comfortable and “get into the zone” will help them to produce a great performance.
This “singers’ station” should have the microphone mounted on an appropriate microphone stand, with a music stand and a place for the headphones to be kept between takes. You may also need some kind of acoustic treatment around the microphone. We’ll have a look at these issues further down the page in relation actually recording the vocalist.
Professional studios usually have a vocal booth where the vocalist is isolated from the rest of the studio space. Despite this, some producers prefer to be in the room with the vocalist while they are recording.
For example, if you watch the documentary series, “The Defiant Ones”, you will see Dr Dre give you tour of the home studio he’s having built in his new house.
When he gets to the vocal room he says that he wonders what he is going to do with it, since he likes to have the vocalist in the studio room with him when they are recording the vocal.
You should also think about whether you want the vocalist in the room with you or whether it would be better for them to have a separate space.
Studio Lighting and Temperature
Another thing to think about is the studio lighting and temperature.
You might find it helpful to have strong lighting in the studio so that you can see what you are doing and where things need to be plugged in, but this might not make the vocalist feel comfortable.
Softer lighting is more likely to enhance the vocalist’s performance since it will produce a more intimate feel to the surroundings.
It’s not difficult to install dimmer switches for your studio lighting, but you need to take care with this since you can get problems with noise and audio interference produced by the circuitry.
A better solution may be to have separate lighting for anything you need to be well lit, and dimmer lighting in the section of the studio where the vocalist will be performing.
Don’t forget that a small reading light may be needed on the music stand if the vocalist wants to read a lyric sheet.
You also need to make sure the temperature in the studio is right in order to get a good vocal performance.
If it’s too hot the vocalist may start to feel lethargic, and that may cause them to stop moving around to avoid getting any hotter. If it’s too cold the vocalist’s vocal chords may tense up, which may inhibit their ability to sing. A studio thats’ too hot or too cold can lead to a flat, unemotional recording.
2. Be Sensitive and Supportive of the Vocalist
Whether the vocalist is someone you have never met before, or they are one of your best friends, you need to be sensitive and supportive.
Although you and the vocalist may want to get straight on with recording it often helps to chat a little and develop a rapport before the session starts for real.
The vocalist will also need to “warm up” before you start recording, and they will probably have their own routine for doing this. If you pay attention while the vocalist is warming up you will be able to get some ideas about their pitch accuracy and vocal range on the day.
One of the keys to a great vocal recording is getting a performance from the vocalist that conveys the emotions needed for the track. It’s very difficult for vocalists to do this if they don’t feel comfortable.
Someone who feels anxious finds it difficult to do things that they can normally do easily. Look at sportspeople who can’t perform as well as usual in high-pressure situations. Singing is exactly like this.
When a vocalist is stressed out their vocal chords seem to tighten up and they find it difficult to pitch their singing correctly. The mouth and throat become dry, so they may start coughing, or lose focus because they are worried that they might.
Keep Nodding and Smiling
It’s important to be encouraging, both while the vocalist is singing and after they have finished recording a part.
Before you start it’s usually helpful to tell the vocalist to just keep going if they make a mistake. The performance may be great apart from that one mistake, and this can usually be fixed later.
If the vocalist is in a location where they can see you while they are recording they will almost certainly be sneaking the odd glance at you to see your reaction.
Even if it is just an average performance, or maybe it isn’t going very well, it’s always helpful to nod in time with the music and look as if you are enjoying it.
Asking the vocalist to try something again can be taken to mean that the previous attempts were not good enough, and this can also make the vocalist feel anxious. So think about how you ask them to have another go at it.
This will encourage the vocalist and will help them to relax. The vocalist being relaxed will help with the part being recorded at the time and also with parts to be recorded later in the session.
3. Use the Right Microphone Setup
It’s the microphone that is going to capture the vocal performance so (obviously) it’s important to set this up correctly.
This means you need to think about the type of microphone to use, how to place it to capture the sound effectively, and whether you need any acoustic treatment around it.
We have some more information on this type of equipment in our recommended gear section.
Type of Microphone
There are three main types of microphone that are use for recording audio. These are dynamic microphones, ribbon microphones and condenser microphones.
All three microphones convert sound vibrations into an audio signal by making something move in an electric field, which converts the sound to an audio signal.
Each has strengths and limitations, but one is used for recording vocals much more than the other two.
Dynamic Microphones
Dynamic microphones are the type you will have seen singers using onstage in a live performance. They can stand up to a lot of punishment, which is why they are mostly used in a live setting.
Because of the way they convert sound waves in to an audio signal, with a heavy coil inside a magnet, the sound that’s captured can lack the definition needed for vocal recording.
You can read more about dynamic microphones in this article.
Ribbon Microphones
Ribbon microphones use a thin strip of metallic material moving in a magnetic field to convert sound waves to an audio signal. The lightness of the ribbon assembly makes these microphones very sensitive and they are very suitable for recording.
Their main weakness is how fragile they are, so they are easily damaged. This, together with their high price, means that you very rarely see them in home recording studios.
Condenser/Capacitor Microphones
Condenser microphones are sometimes called capacitor microphones, because they use a capacitor to convert sound waves into an audio signal.
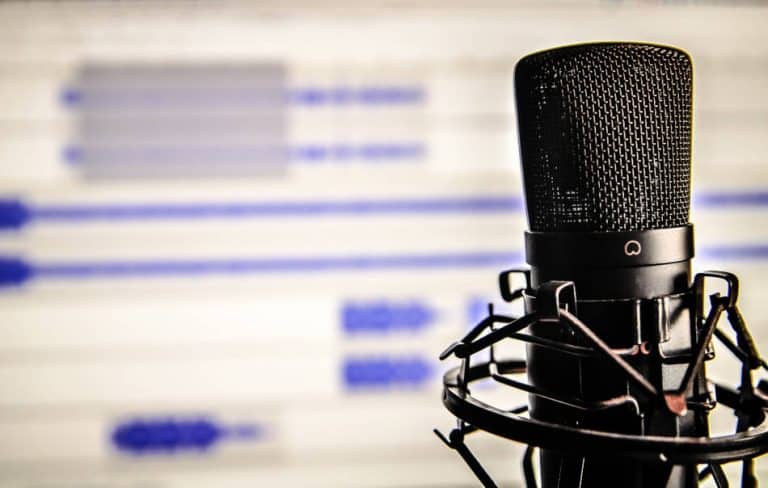
This capacitor takes the form of an electrically charged diaphragm that vibrates when hit by sound waves. The vibrations are converted into the audio signal that is recorded.
Since it’s easy for incoming sound waves to move the diaphragm, a condenser microphone is very sensitive and lets you capture the sound accurately.
As a result condenser microphones have a “flat” frequency response, which means that the sound is represented fairly evenly right across the range of audible frequencies. This makes condenser microphones very suitable for vocal recording in a studio setting.
Condenser microphones are quite delicate, and are easily damaged, but maybe less so than with ribbon microphones. They can also be less expensive.
Having said that, the price you could pay for a condenser microphone varies a lot. I have one, that I use all the time and it produces great results, which cost less than $50. The most expensive condenser microphones can cost almost $10,000 each.
A condenser microphone is almost certainly the best choice for recording vocals in your studio, and you will need to think about your price range when buying one.
The advice is always to try out different microphones to find one that gives you the sound you want. If you are Max Martin or Calvin Harris you might have the means to do this easily, but for most of us we have to listen to advice from other people and make the decision based on that.
Fortunately there are plenty of articles and videos available online to help us. That’s how I decided to go for my £50 condenser microphone, and I’m happy that I did.
Microphone Placement
Having chosen the best microphone to use you will need to fix it in place so that it is in the right position to capture the vocalist’s performance.
In a home studio you may not be able to have a permanent area dedicated to recording vocals. This means you will probably need to be able to move the microphone stand in and out as needed.
Portable microphone stands come in various types. The one most people think of is the “straight up-and-down” vertical microphone stand that you see singers using on stage. You can also get “boom” microphone stands, which have a vertical section with a separate boom that lets you position the microphone more precisely.
If space is limited you may want to go with the straight vertical microphone stand, since a boom extends horizontally and needs more room.
Whatever type of stand you use, the microphone should be attached using a “shock mount”. This prevents unwanted vibrations from the floor, the microphone stand, and the room generally from being picked up by the very sensitive condenser microphone.
The microphone should normally be placed so that it points somewhere between the nose and mouth of the vocalist. According to the microphone manufacturers, Shure, this helps the microphone to pick up the complete sound of the voice.
Although the microphone should be in front of the vocalist’s mouth, it is often placed slightly off-center to help avoid capturing the blasts of air produced when “pop”-sounds from plosives such as “b”, “p”, “d” and “k” are sung or spoken.
Use a Pop-Filter
It is very difficult to remove pop-sounds once they have been captured in a vocal recording. You can further eliminate the problem by using a pop-filter, sometimes called a pop-shield.
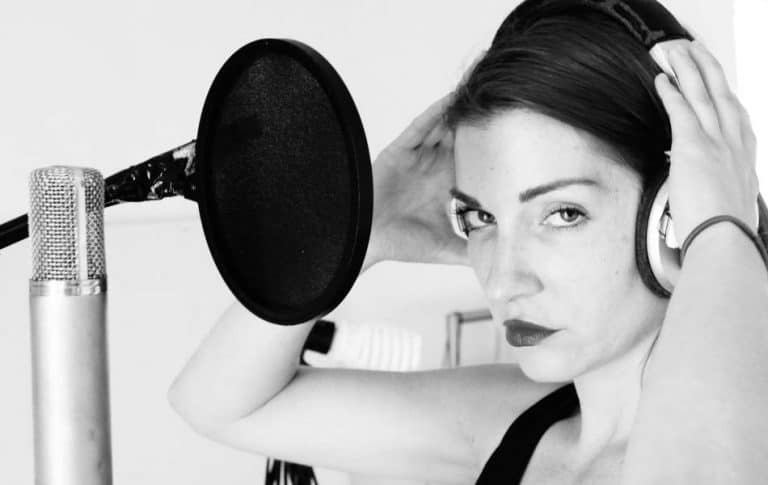
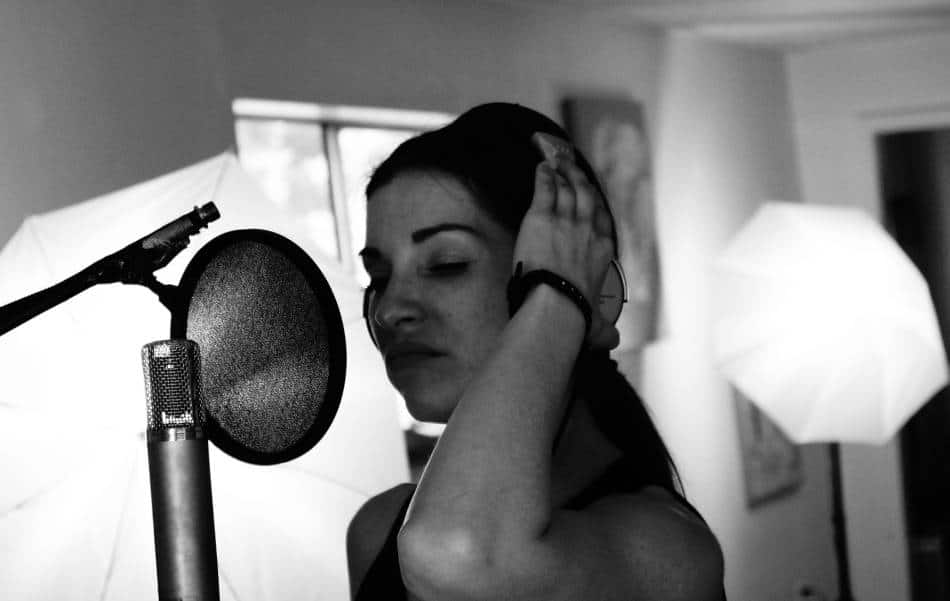
A pop-filter usually consists of a fine mesh that is supported by a frame that is placed in front of the microphone, between it and the vocalists mouth.
The fine mesh stops the burst of are produced by plosive sounds, while letting the vocalist’s voice sounds pass through to be picked up by the microphone.
You can read more about using a pop filter when recording vocals in another article on our website.
Adjust the Distance Between the Microphone and the Vocalist’s Mouth
Although you might not be able to try out lots of different microphones to see which one you like the sound of, you can definitely adjust the distance between the microphone and the vocalist’s mouth to get the sound you want.
For example, if the vocalist’s mouth is closer to the microphone this can produce what is called a proximity effect. The results is a boost in the lower frequencies captured by the microphone. This can be great if you are looking for an intimate type of sound, but it not be suitable for something more energetic.
Try to Isolate the Vocal Performance
Since you only want to capture the vocalist’s performance it can be important to isolate the vocalist and the microphone from the rest of the studio to avoid interference from reflections, or echoes, coming back from surfaces in the studio.
Your studio may already have some acoustic treatment to control sound reflections, but specific treatment can be put in place where you are recording vocals. This can be done by surrounding the back of the microphone with an absorbent screen. These are sometimes described as portable vocal booths.
The screen is usually about one foot high by two feet wide, with flexible side sections so that the screen can extend around the sides of the microphone.
4. Get the Headphone Mix Right
Your vocalist will usually need to hear some kind of backing track while they are singing. This is almost always done using headphones.
You will need to provide the vocalist with a headphone mix that that they can sing along to. This is usually called the foldback mix.
The foldback mix may have have vocal chain effects applied, and the vocalist may have a preference about what is included in the foldback mix. You can read about what might be included in a vocal chain in this article.
Some vocalists like to hear the full backing track, others just want a stripped-back guide track. They may also have a preference about how much of their own voice they can hear in the foldback.
The volume of the foldback can also make a difference. If the backing track is too quiet they may not be able to follow it properly, leading to tuning problems. If it’s too loud they may not be able to hear themselves singing, which can lead to similar problems.
Adding some reverb to the vocals in the foldback can help the vocalist to feel more confident about their performance, and can make them perform better.
Adding compression also makes the vocal sound better, but it may be preferable not to add this to the foldback so the vocalist can better judge and control the dynamics in their performance themselves.
While the vocalist is listening to the foldback ask them to sing one of the loudest parts of the track, which is probably the chorus, and check the levels.
Adjust the gain on the vocal track so that it doesn’t go above 0dB FS (Full-Scale). Then turn the gain down a little more, maybe -3dB further. This leaves some headroom since the vocalist may “go for it” during the performance and sing a little louder than in the try-out.
5. Be Prepared and Pay Attention
There’s quite a lot of information available to help vocalists prepare for a recording session, but what about you, the producer?
It’s obviously important to prepare properly for a vocal recording session, but what should you be preparing?
You will need to have the backing track in place and have some options available for providing the vocalist with a headphone mix for appropriate foldback.
You will also need to know the song inside out, whether it’s yours, the vocalists, or someone else’s. This means you won’t need to be struggling to figure our where you are in the track while recording.
You should also work out in advance what lead vocal recordings are needed, what harmony vocals you want to include, and any adlibs that could be added (even though adlibs are supposed to be spontaneous.
Earlier we recommended that you should look as if you are just enjoying the performance, rather than listening critically, to put the vocalist at ease.
While this is true, what you actually need to be doing is listening critically. You need to identify any problems there may be and think of ways to correct them.
For example, the vocalist’s intonation may not be very good, or they have difficulty hitting higher notes. Also, the vocalist may be swaying as they sing, which can move alter the distance between them and microphone, which can make the volume levels inconsistent.
And That’s a Wrap
You will have noticed that we didn’t really focus much on what happens after you press the “Record” button. This is because we wanted to look at the practical and human side of recording a vocalist in your home studio, which can cause problems for inexperienced home studio producers.
We will concentrate more on some of the things that are important after the “Record” button has been pressed in future articles. One thing you might want to do is apply some sort of auto-tune or pitch correction, and you can read more about this (and whether it’s cheating) here.
